WHAT IS PIXEL ART?
Pixel art is a form of digital art drawn with graphical software where images are built using pixels as the only building block. It is widely associated with the low-resolution graphics from 8-bit and 16-bit era computers and arcade video game consoles, in addition to other limited systems such as LED displays and graphing calculators, which have a limited number of pixels and colors available. The art form is still employed to this day by pixel artists and game studios, even though the technological limitations have since been surpassed.
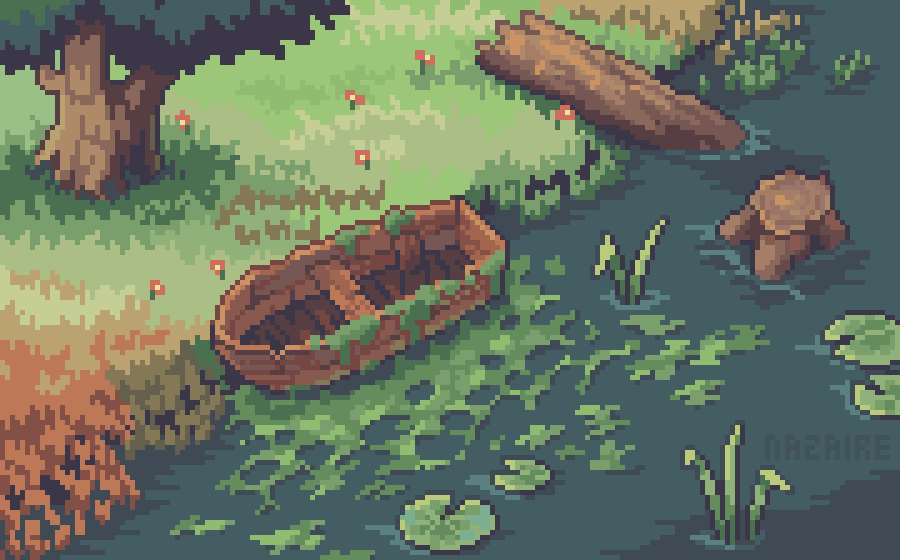
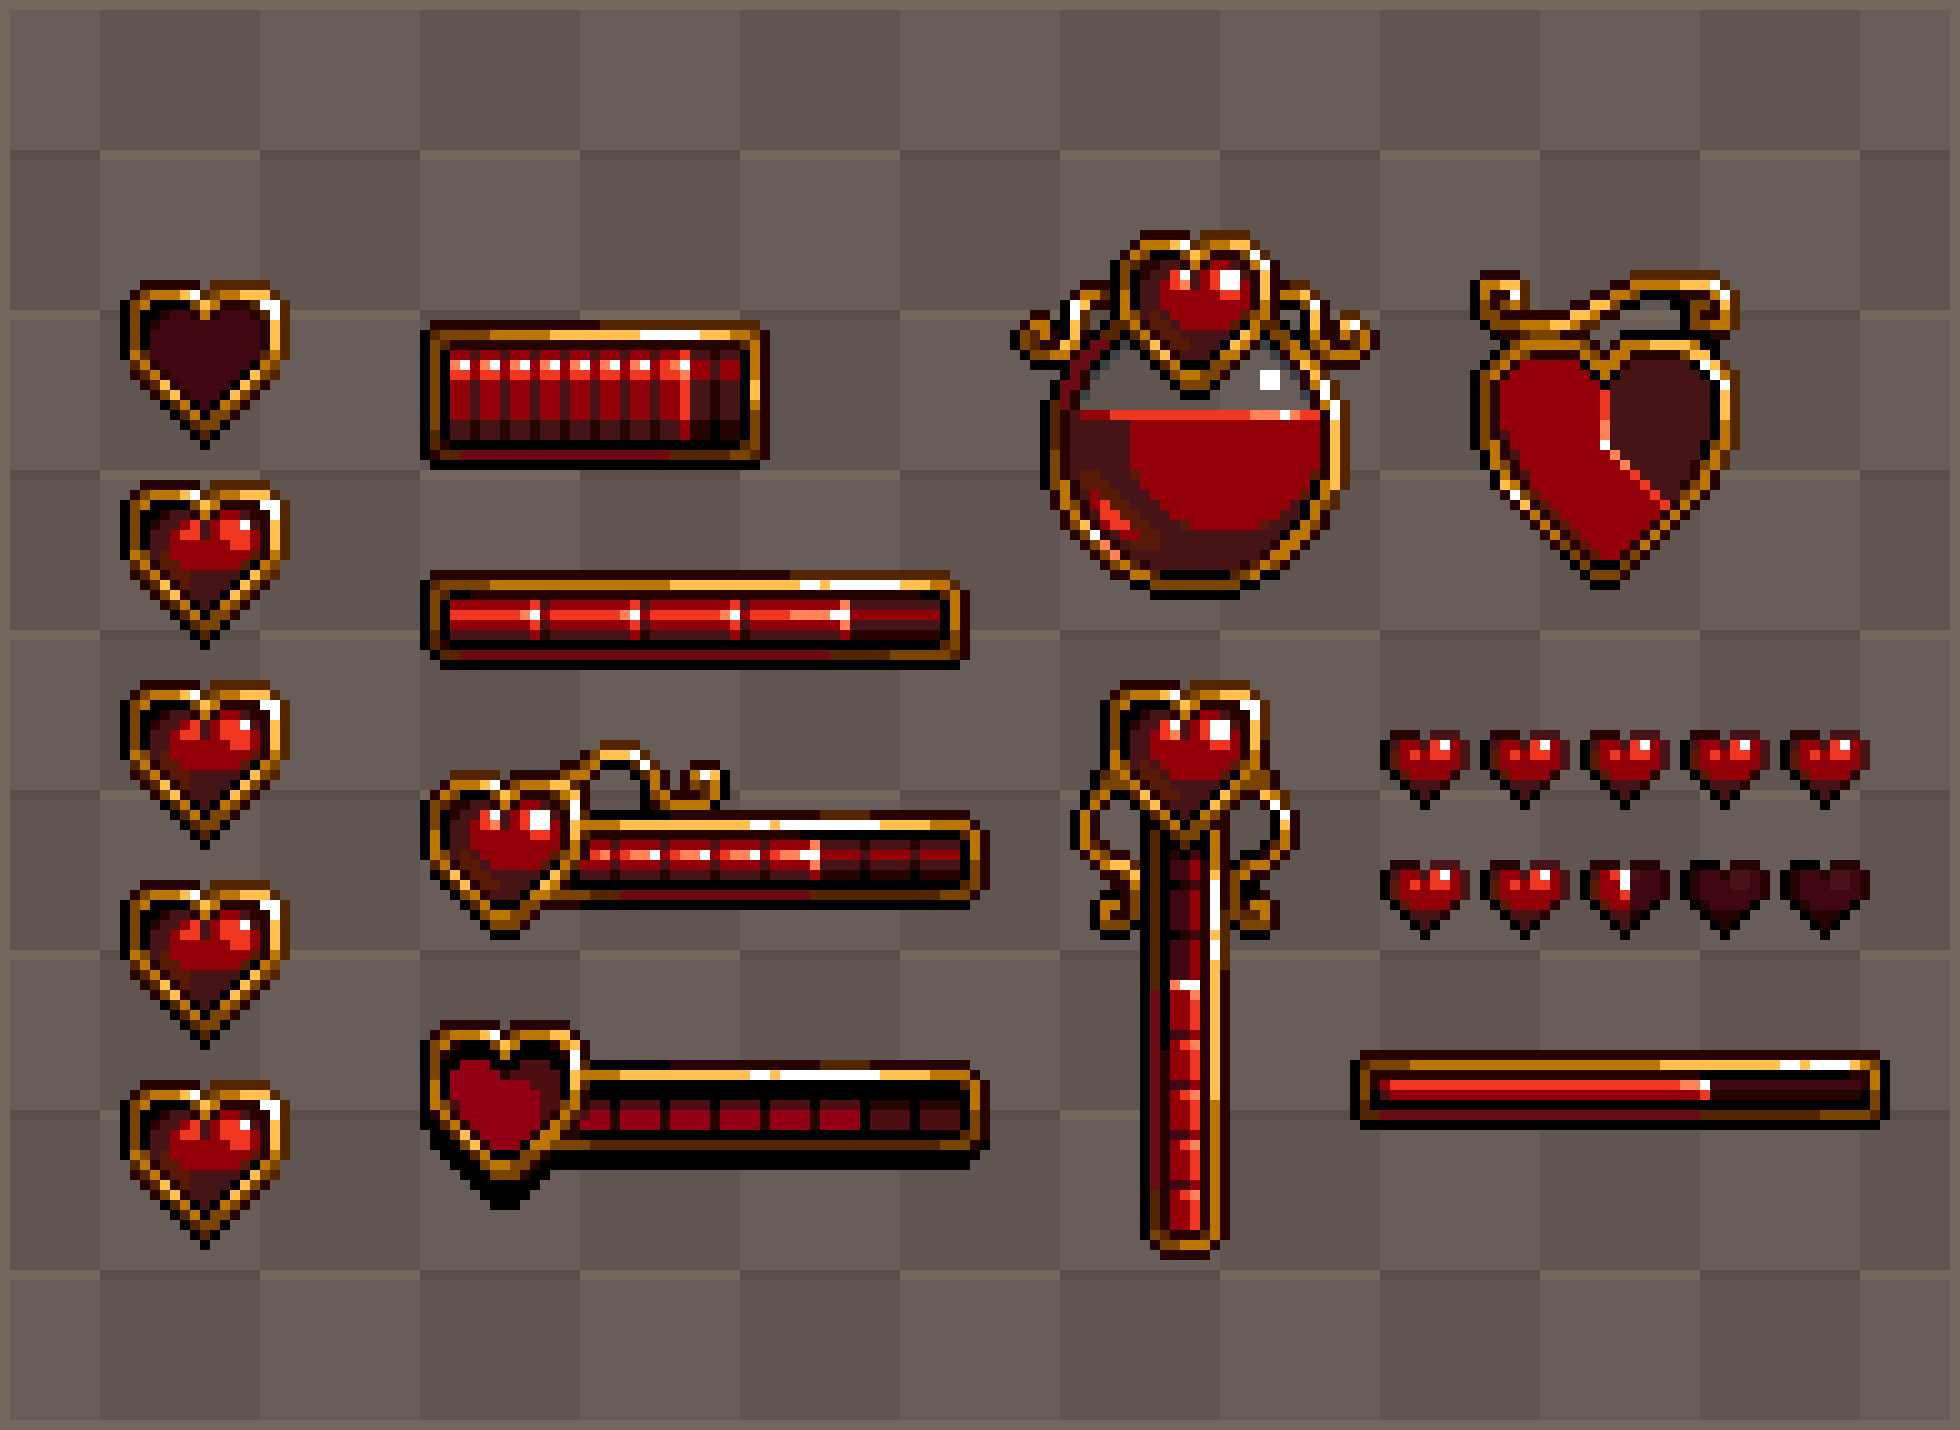
art by @ElenaNazaire
Pixel art was born in the 1970s, albeit very crude in comparison with the digital art of today. Because of technological restrictions and the general newness of the field, users were limited to the graphics they could create. Some of the earliest pixel art was merely squares and rectangles.
SuperPaint was the precursor to modern graphic programs like Photoshop. Developed in 1972 by Richard Shoup, it was used by NASA as a way to illustrate its discoveries and data. Its capabilities included basic graphics and animation, although its contributions would get cut short. In 1979, the pioneering program was put to an end by its development company, Xerox PARC. But that was not before it showed what the future could be. It had features like adjustable paintbrushes, image magnification, and the ability to create full-color images. Its menu was replicated on subsequent graphics applications like MS Paint and MacPaint.
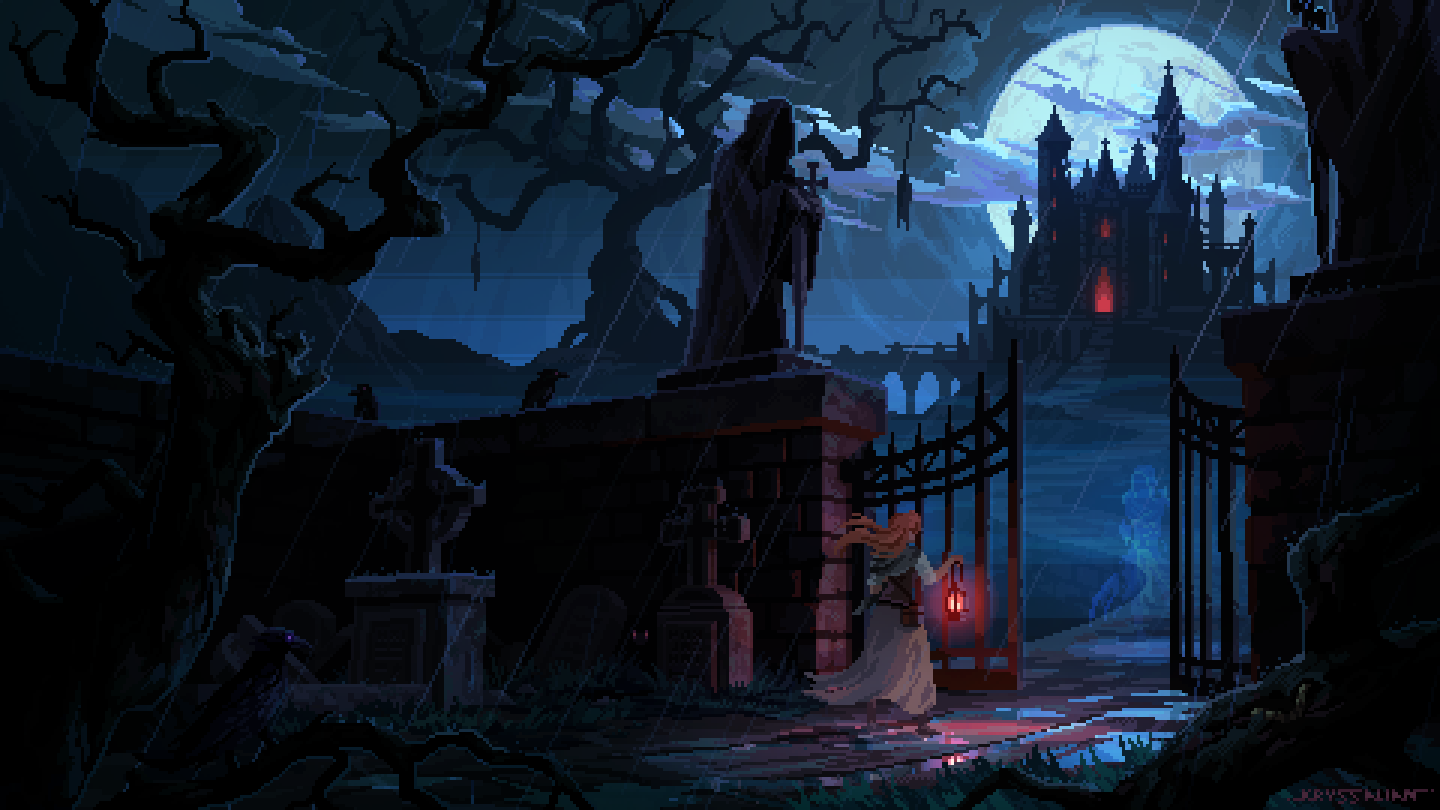
art by @Kryssalian
HOW CAN YOU GET STARTED?
STEP 1:
Choose the right program for you.
There are various pixel art software out there which can vary in price and complexity. Finding a program that fits within your budget (and is beginner friendly), is important to consider when choosing what program you will use.
I personally prefer the strictly pixel art tool Aseprite.
This tool is a one time paid program that can be bought via Steam, Itch.io, Humble Bundle, or via their website.
Other tools such as Photoshop, MS Paint, Piskel, GIMP, and GraphicsGale can be some good alternatives to also consider.

STEP 2:
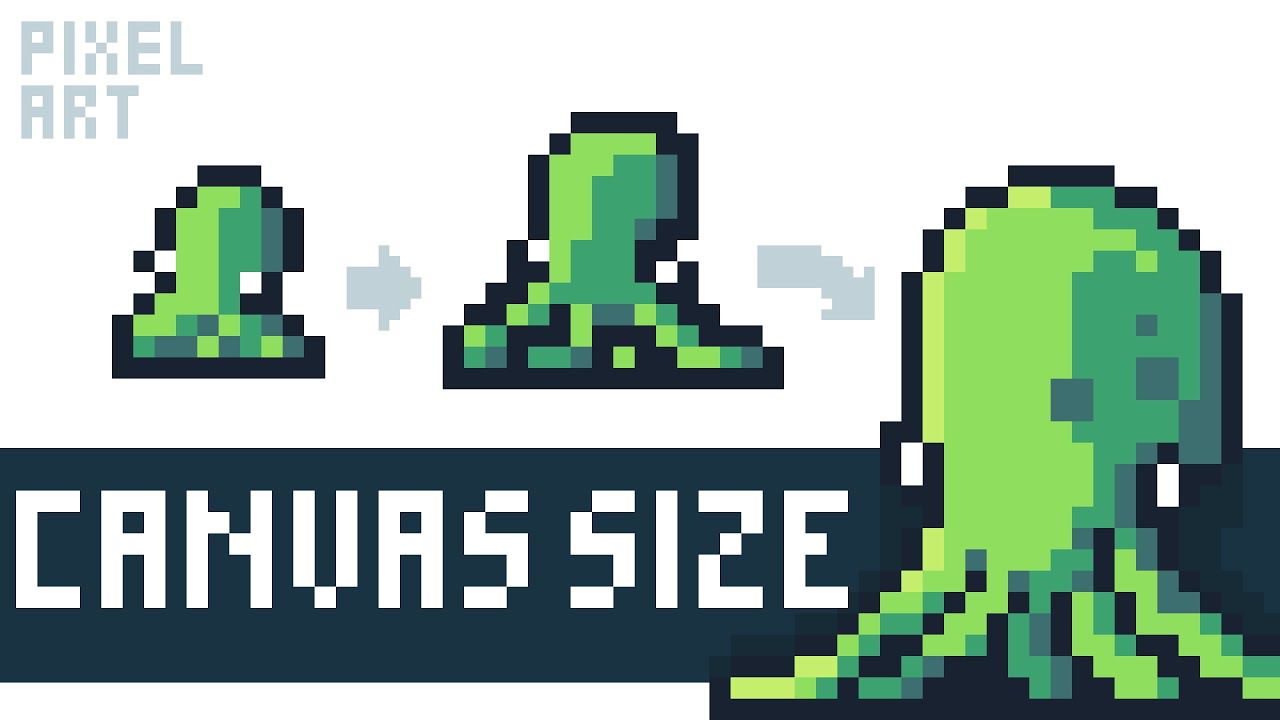
Start off small.
start by creating pixel art at much lower canvas sizes. Immediately diving into a very ambitious and large project can be tempting, but it is recommended to begin with a much smaller size to get familiar with your tools and help envision your final art.
I personally like to start off with a larger canvas size(double or triple the size) and then downscale it to use as a sketch layer.
recommended video by @Pixel Overload
recommended video by @AdamCYounis
STEP 3:
Find Your Reasoning/Intent.
what is it that you are making pixel art for? if it is for a game, then you want to make sure you keep a consistent palette and artistic style that can be continued for future sprites. If you are making pixel art for fun/commissions then you have a bit more freedom and fewer restrictions. However, it is important to remember that it is always okay to break the "rules" when it comes to pixel art as there are no real limitations but your canvas size and creativity.
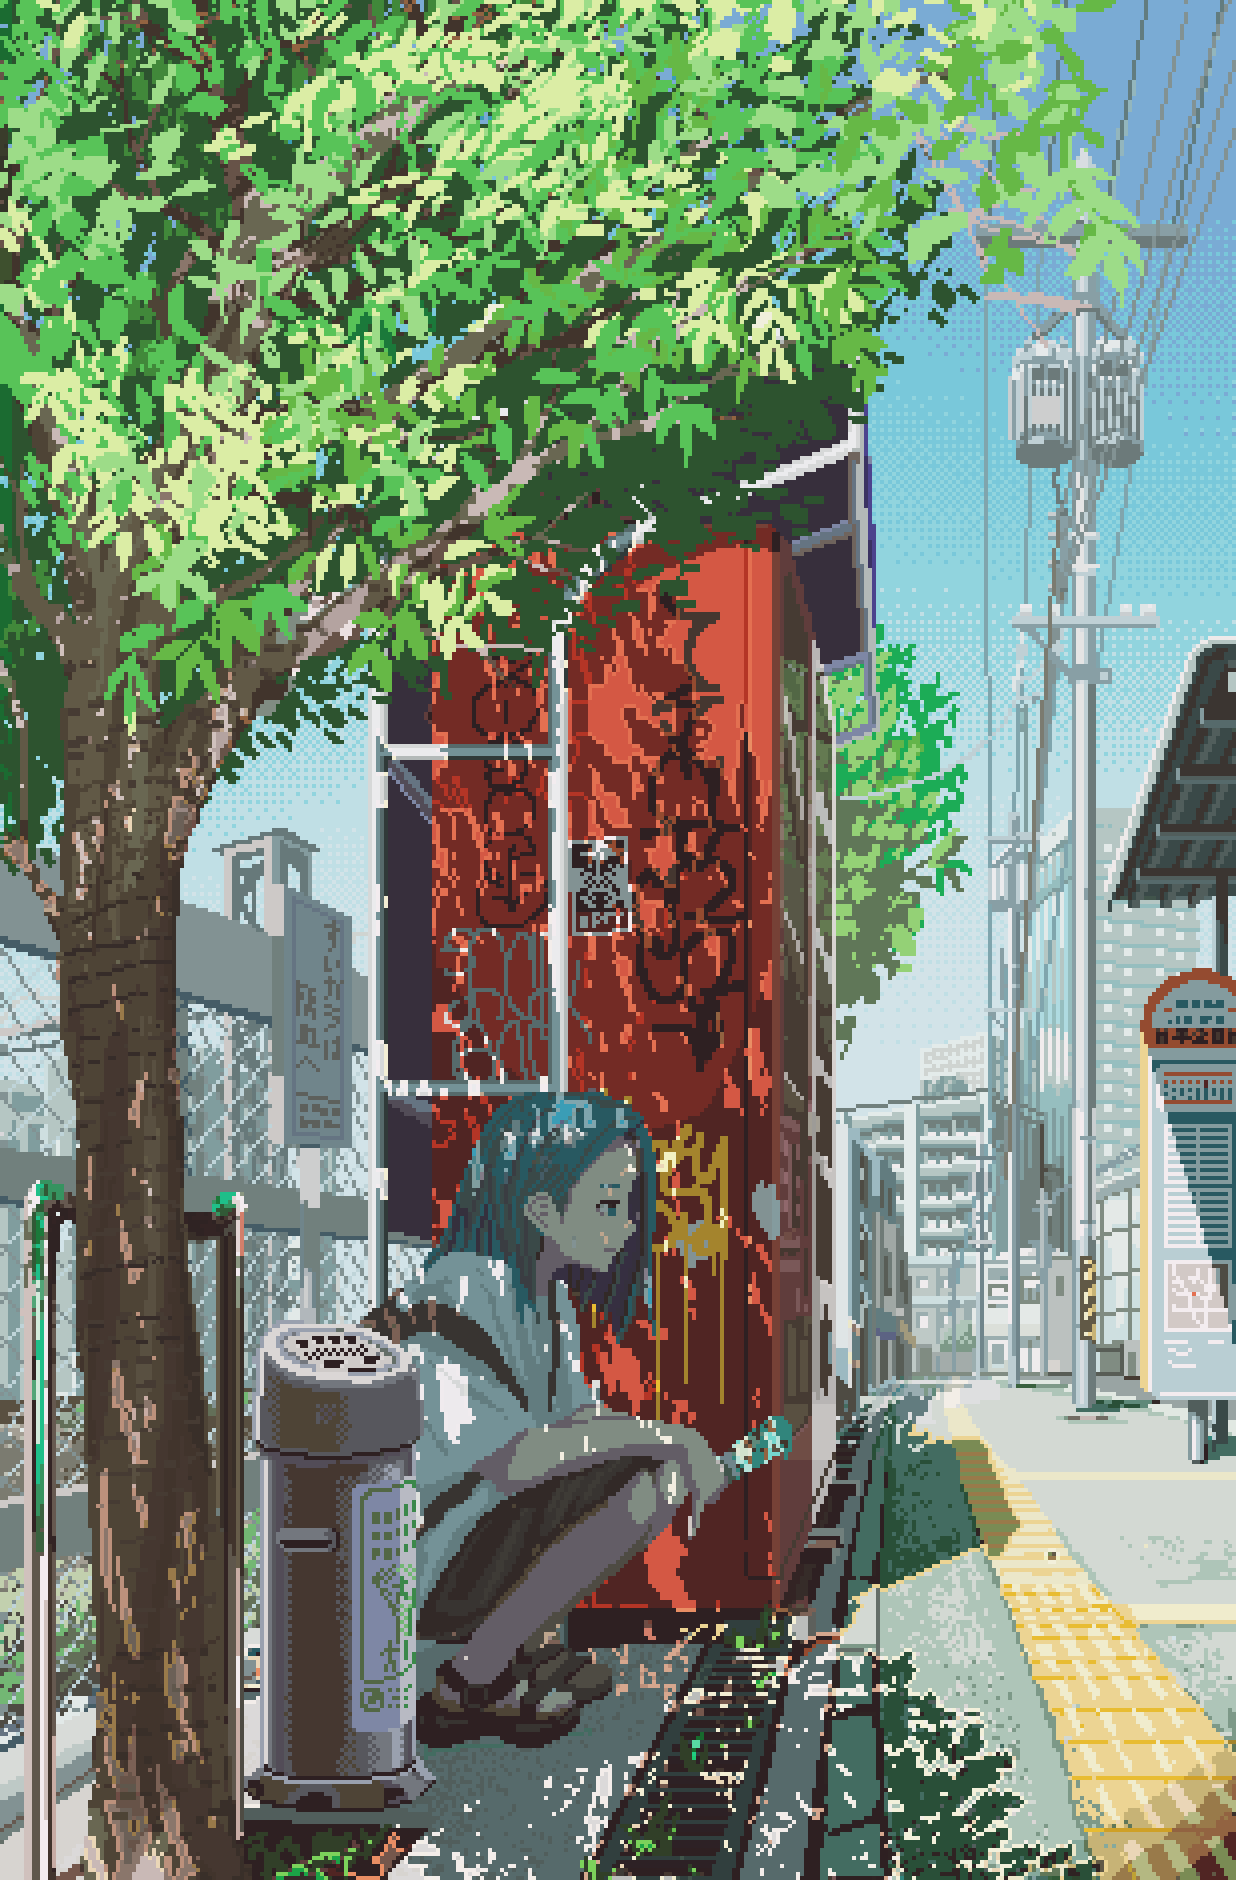
Art by @Rappenem
STEP 3: (cont.)
If you are interested in more video game inspired/intended pixel art, I recommend checking out both of these fantastic videos by AdamCYounis. They detail how to effectively decide on an art style, as well as break down and analyze the more common, top-down style that is beginner friendly.
(Pixel Art Styles) recommended video by @AdamCYounis
(Top Down Analysis) recommended video by @AdamCYounis
STEP 4:
Be Patient.
Something that I personally struggled with when first starting out is focusing too much on how everything looks initially, and eventually moving onto a new idea because of the slow progress.
pixel art is a very slow process, but that doesn't mean it has to be a boring one. Some ways to combat this are to try doing individual parts of the art at a time without looking at the whole canvas as one large project (i.e. hide your layers and focusing on specific areas)
Art by @moot_sai